The Label Editor editing window
The editing window consists of the following areas:
 |
At the top, the button bar for label format management. Below the button bar, the editor displays either an individual label or a panel of labels. |
The button bar
The bar contains the following buttons:
| Load | Imports a previously saved label settings file. This button displays a standard disk file selection dialog. |
| Save | Creates a label settings file. This button displays a standard dialog for saving a file to disk. |
| Preview | Previews a label sheet according to defined parameters. |
| Prints a sheet of labels according to the parameters set. | |
| Label | Displays the editor that lets you define the contents of a label. |
| Layout | Displays the editor which lets you define the contents of a label sheet. |
Editing a label sheet
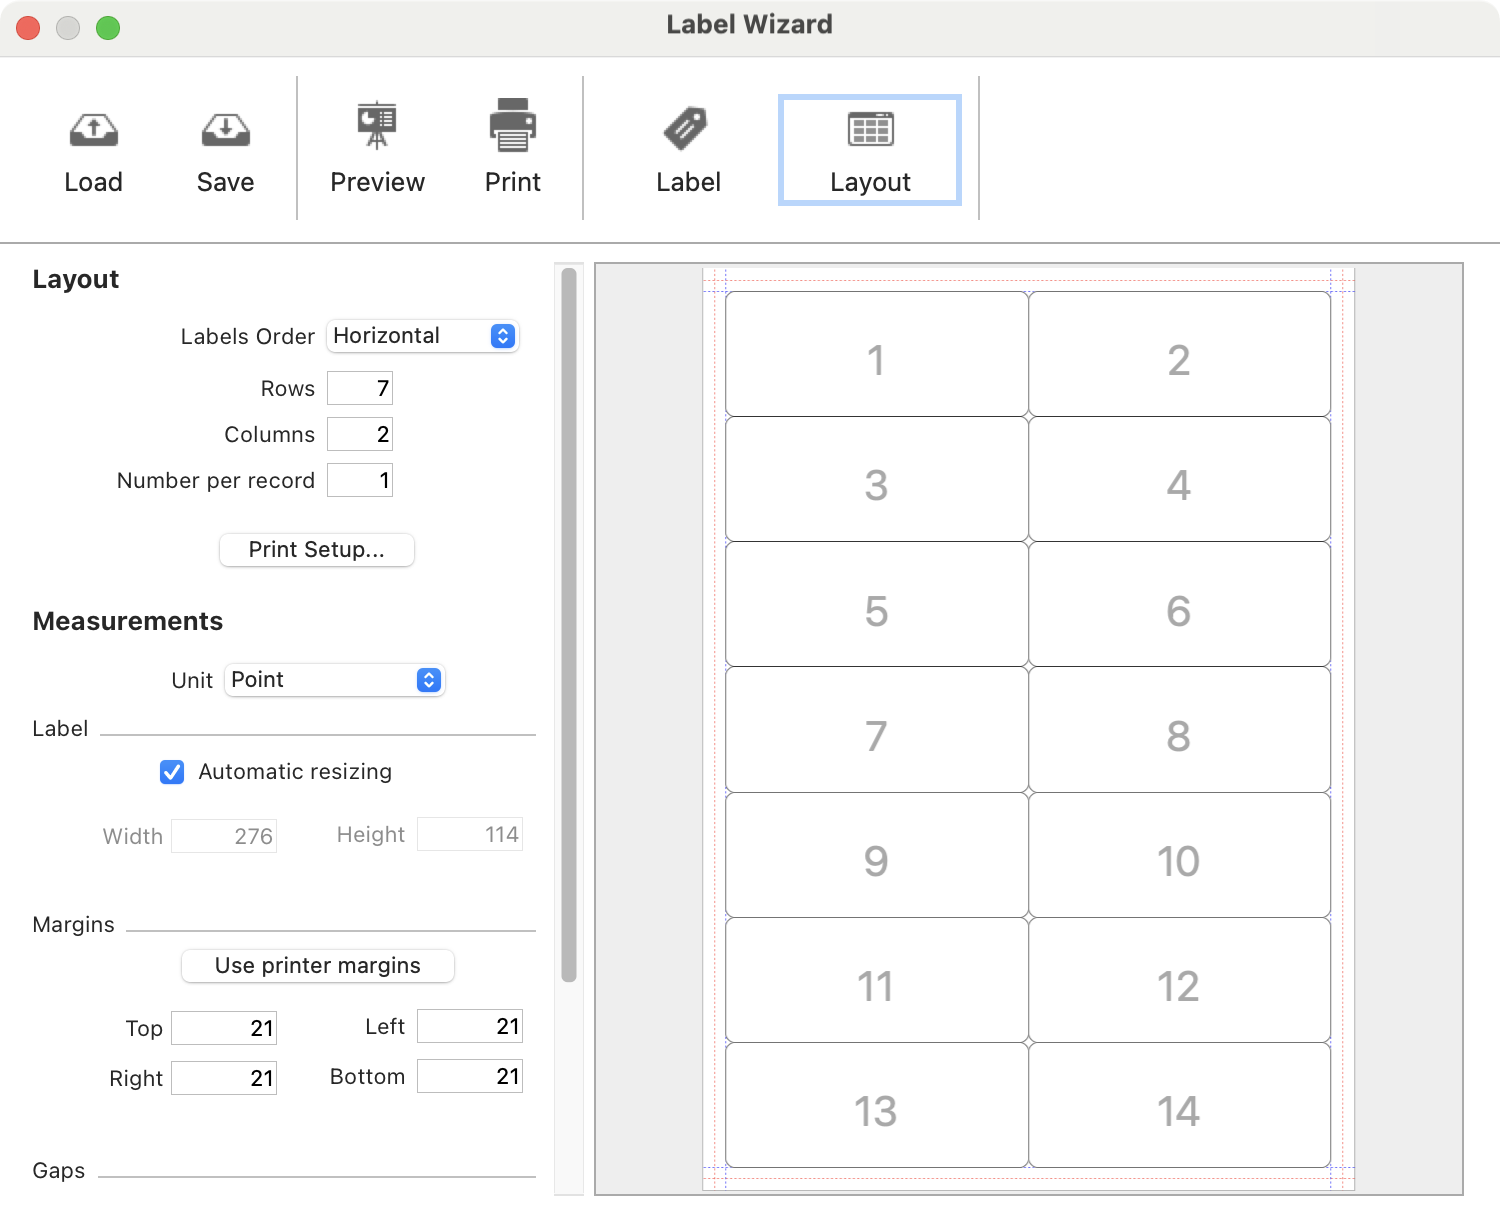 |
Here you define sheet orientation, number of labels per page, label size, margin size and number of labels per record. |
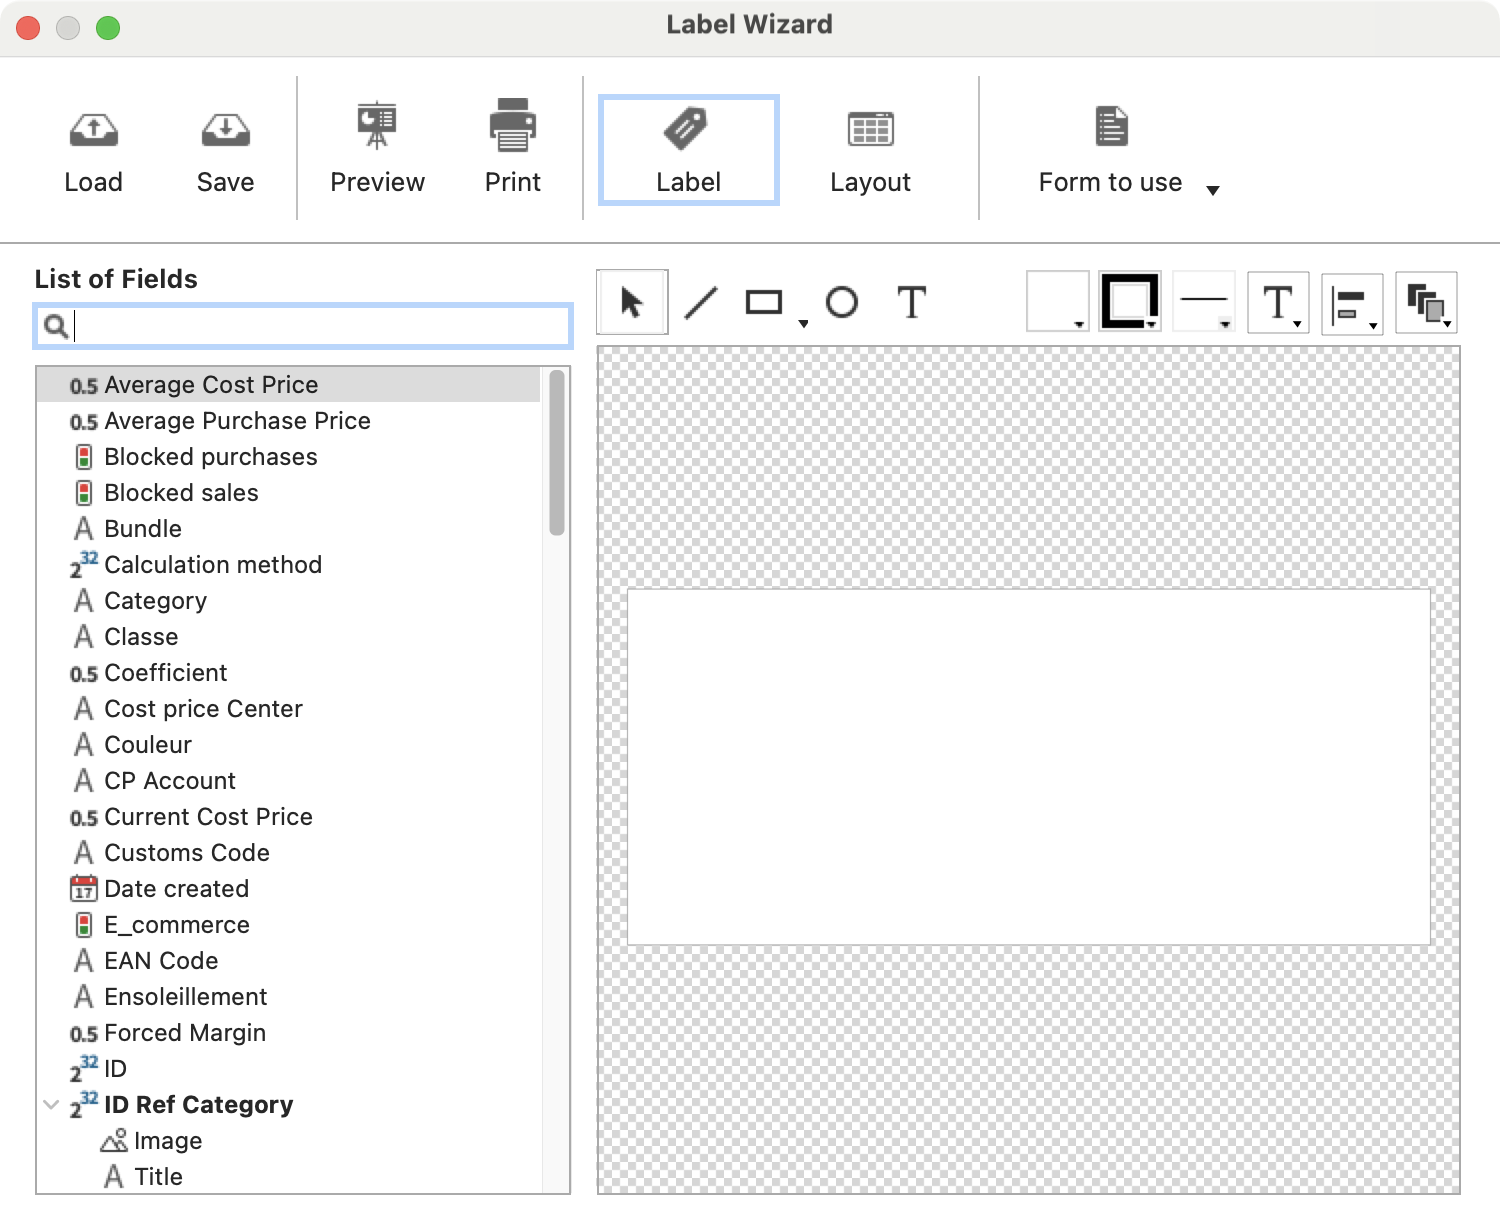
Editing a label
Select the elements you want to appear on a label. On the right is the image of a label, on the left you can select a field, move it on the label and define its typographic attributes (font, size, style) using the contextual menu displayed with a right-click (Windows or Mac) or a Ctrl-click (Mac).
Use the tool palette to add graphic elements (rectangles, circles, lines) and align elements. You can also add fixed text.
To concatenate two fields, place the second on top of the first: in the editor, the two fields appear separated by a "+" sign. When printed, these two items will automatically be separated by a space.
Saving a format
Once all label parameters have been defined, save the format using the Save button. A dialog for saving the file to disk appears. Give the format a name and choose a disk location (for instance the Desktop). The format will automatically be added to the list of print formats in the print dialog. You can then delete the file saved on the disk.
 Français
 Deutsch
 Italiano