Configure authorised workstations
In the Server version of the software, a command called Configure Authorised Workstations appears in the Maintenance menu of the Client software. When this command is selected, a dialog box appears allowing you to define the workstations authorised to connect to the database. This is a security measure that supplements user authentication via a password. Thus, if a user’s password were to be compromised, the hacker would need to log in from a computer listed in a restricted list in order to use it.
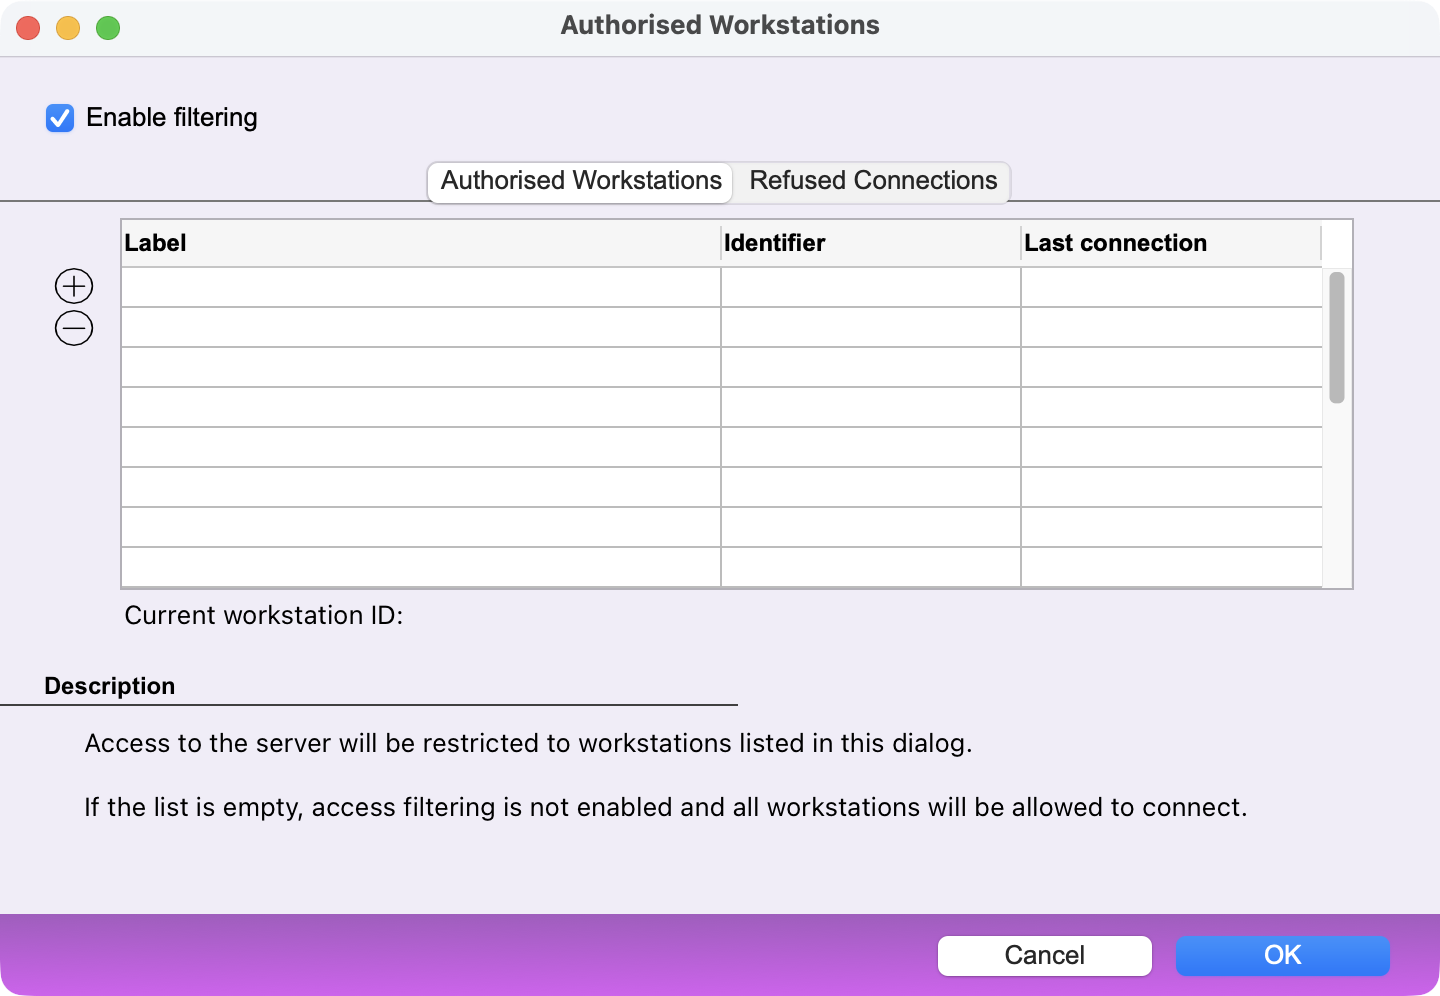
Tick the Enable filtering box in order to start this control.
Authorised Workstations tab
A three-column table lists the authorized accounts. Each account is identified by a name and a unique ID. In addition, the date of the last login is displayed.
On the left hand side, two buttons + and - let you:
- add a workstation to the list*
- remove a workstation from the list
*If the list is empty, the + button offers to import the workstations that have attempted to connect, saving you the trouble of manually entering each authorized workstation.
The most effective solution is therefore for each workstation that needs to be authorised to log in once before filtering is enabled. Then, in this dialog box, import the workstations that have logged in in the past and, if necessary, remove any workstations that are not—or are no longer—authorized to log in.
Refused Connections tab
A table lists the connections that have been denied. If you want to allow one of the workstations in the list, select it and then click the + button to add it to the list of allowed workstations.
Note: Enabling authorised workstations control does not eliminate the need to set a password for each user account.
 Français
 Deutsch
 Italiano